The chart is divided into grid of squares. Each colour is represented by a symbol, and there is a "colour key" which shows you which symbol represents each colour.
Assume that the symbol for Red is 'a' and the symbol for Yellow is 'b'. If you see a line of 8 squares on the chart containing the symbols 'aaaaabbb', you should make 5 stitches in Red and 3 stitches in Yellow.
Cotton threads are used for doing cross stitch. Cotton threads are made up of six strands. Separate these out into the correct number of strands (as indicated on the instructions in the kit) for stitching.
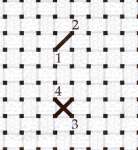
1. The fabric contains blocks with a hole at the corners of each block which is easy to work. To make one cross stitch, bring the needle up through hole 1, down through hole 2, then up through hole 3, and finally down through hole 4.
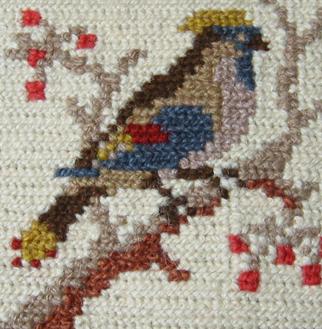
The below image will give you a proper idea of how the stitch looks.

This is the main and basic stitch used for making cross stitch design.
There are more types of stitches which you can try out while you practise making a Cross Stitch.
In this way you can complete the design using different colours of threads making the design more beautiful.
Here is how it looks.


No comments:
Post a Comment